Choose your package
Select an option to see its live dates and timings.
Highlights
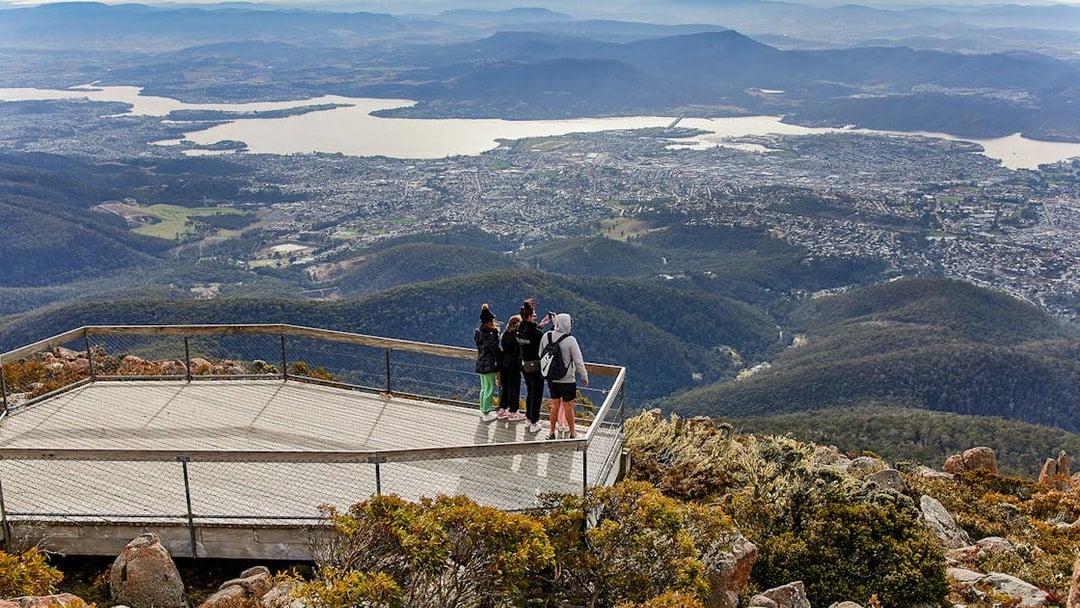
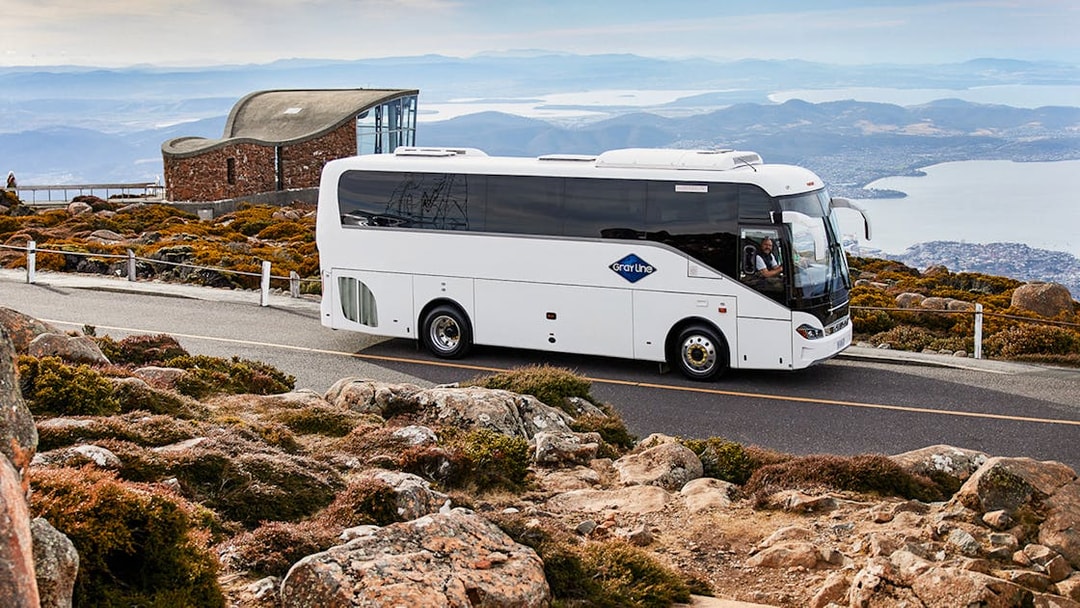
- Embark on a bus tour to the breathtaking summit of Mt Wellington, and marvel at panoramic views of Hobart and the Derwent River accompanied by an expert guide.
- Traverse various ecosystems on your way to the summit of Mt Wellington with a guided walk at the summit observatory.
- Enjoy a ferry journey to MONA, the renowned Museum of Old and New Art that boasts a large private art collection, and explore the masterpieces with the use of ‘The O.’
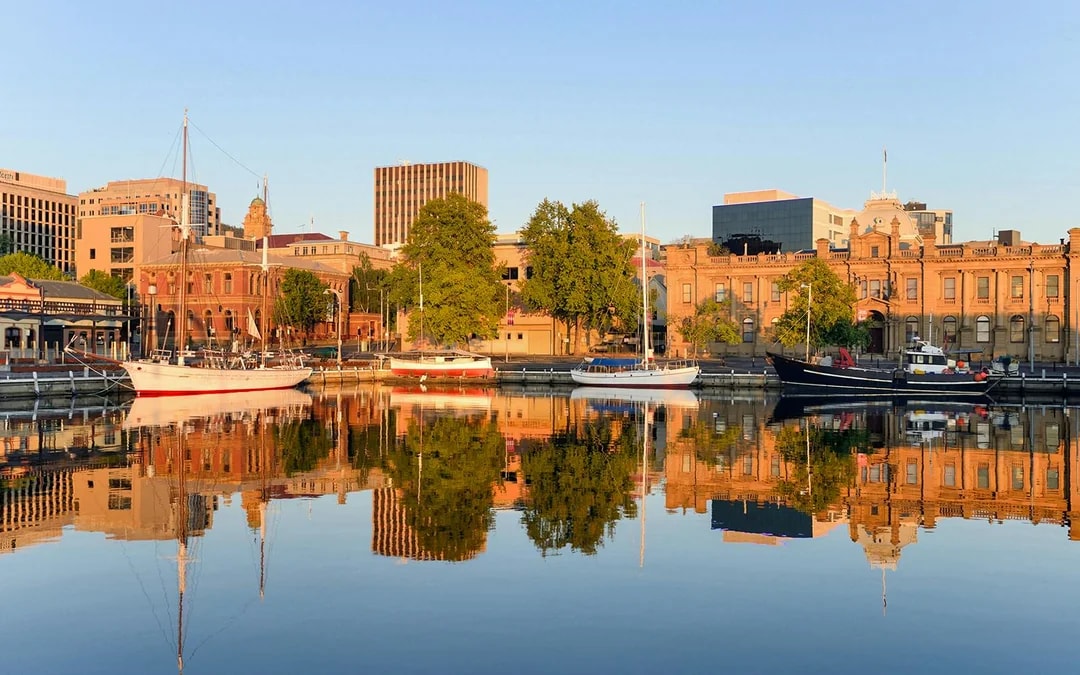
- Conclude your adventure with a scenic cruise along the Derwent River back to Sullivan's Cove.
- Fun fact: The formation of Mt. Wellington can be traced back to the Permian, Triassic, and Jurassic ages!
Your Experience
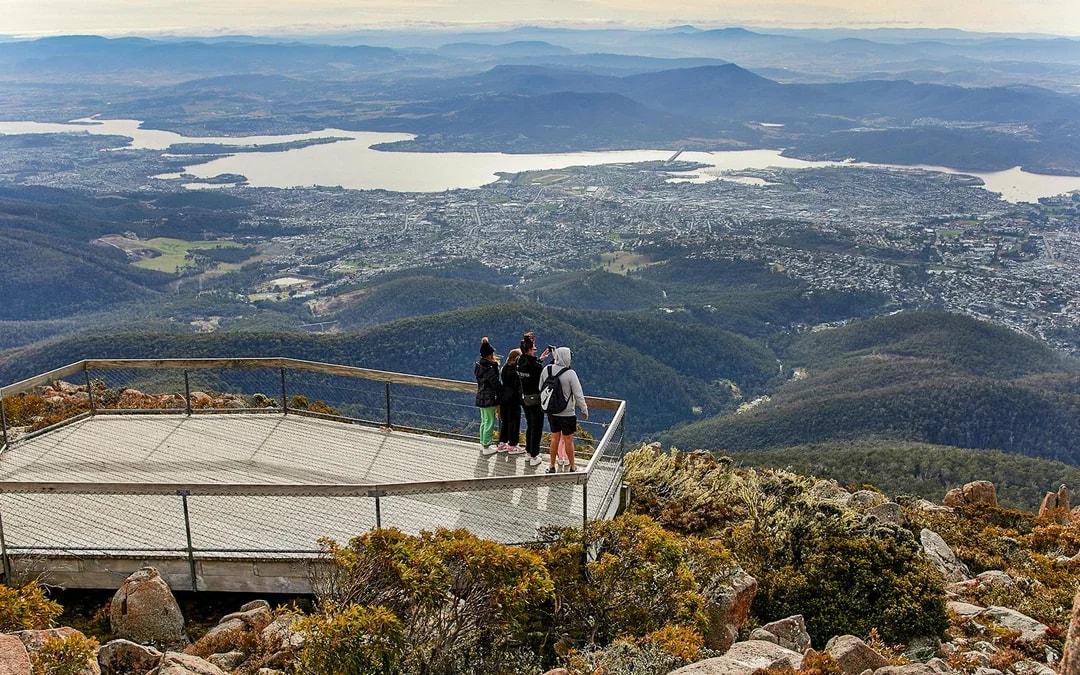
Journey to Mt Wellington's summit with an engaging bus tour that highlights both nature and art. Starting from Hobart, you'll ascend this magnificent natural landmark overlooking Tasmania. With a local expert guide providing commentary, the ride offers stunning views of the Derwent River and city vistas on clear days.
- Explore alpine ecosystems
- View the Organ Pipes rock formation
- Take part in an informative guided walk to the summit observatory
Museum of Old and New Art (MONA) Exploration
Your adventure continues with a ferry ride across the Derwent River, leading you to MONA. This iconic museum is owned by David Walsh and features Australia's largest private art collection housed in an architecturally striking building.
- Use 'The O' device for interactive exhibit insights
- Enjoy a meal at The Source Restaurant, Museum Cafe, or the wine bar (optional)
Your day ends with a return ferry to Brooke Street Pier in Hobart.
Inclusions & Exclusions
- Access to Full-Day Guided Tour of Mt Wellington with Tickets to MONA
- Guidance by Expert guides
- Hotel pick-up included in your experience journey
- Entry and return ferry ticket for Brooke Street Pier, Hobart (on the cruise)
- Derwent River Cruise on the Coach
- Coach touring combined with live commentary during Your Experience Journey
- Short guided walks provided on Mt Wellington
- Hotel pick-up service
This product offers multiple ticket options. Some items above (like transfers or fast-track access) may only apply to specific options — confirm what's included when you select yours.
Ticket Delivery
-
Your voucher will be emailed to you instantly.
-
Please display the voucher on your mobile phone with a valid photo ID during the pick-up.
Hotel Transfers
-
This ticket includes hotel pickups.
-
In the next step of booking, please specify the name of your hotel.
-
On the day of your tour, please report at your hotel lobby 10-15 min prior to your scheduled departure.
-
If your hotel does not have a lobby, please wait at the entrance of the hotel.
Cancellation Policy
Free cancellation up to 24 hours before the experience starts.
Frequently asked questions
Clear answers to the most common questions travelers ask before booking this experience.